Compliant Wall‑to‑Floor Solutions for Modern Construction
Created to support today’s complex building designs, KOROK® has developed a series of Floor Junction Details that strengthen, clarify, and enhance how KOROK® walls interface with modern floor construction, where fire performance matters most.
As building designs and structural systems evolve, KOROK® developed Floor Junction Details to strengthen existing requirements, increase technical clarity, and deliver more comprehensive CAD documentation – supporting accurate specification, smoother construction outcomes, and greater confidence from concept through consent and construction.
Why This Matters
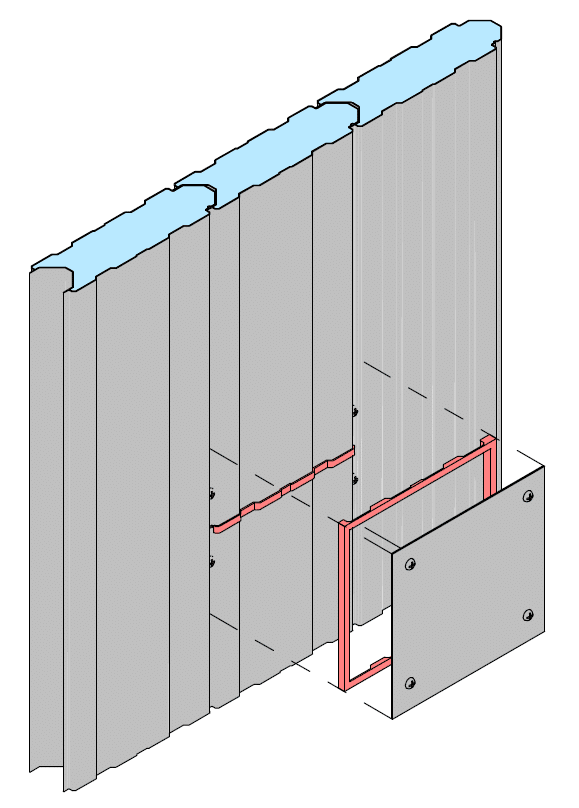
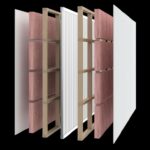
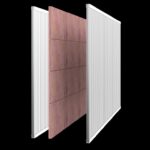
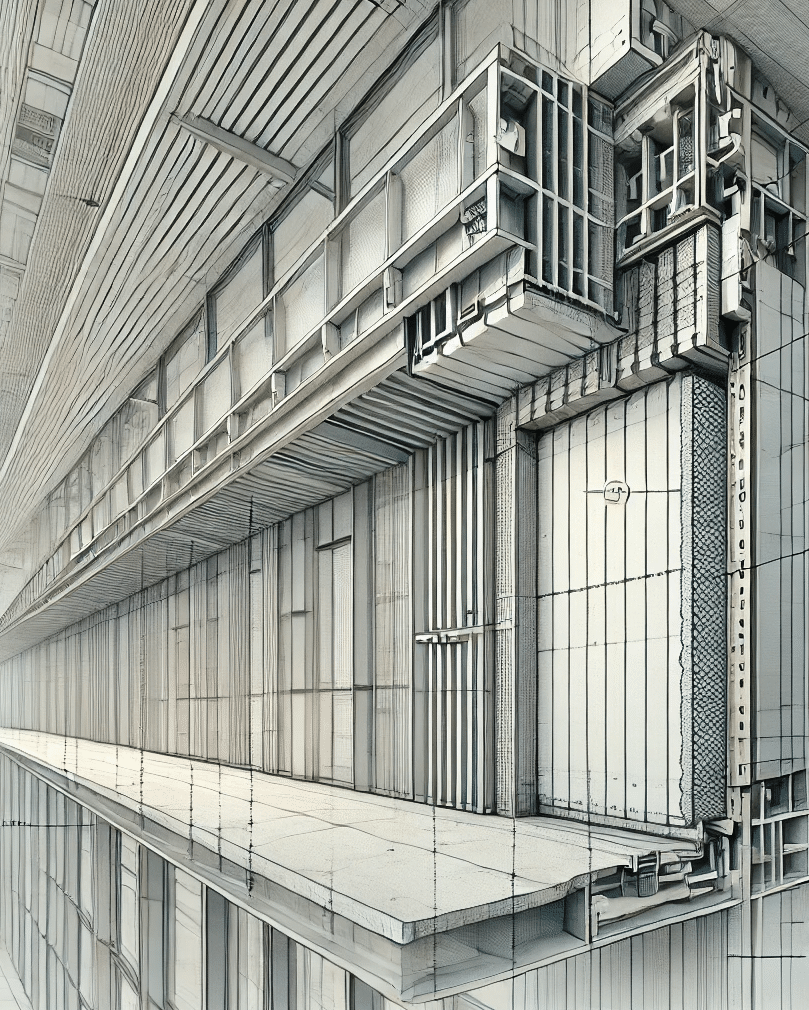
In modern construction, fire performance is only as strong as the weakest interface. Unresolved wall-to-floor junctions can compromise fire separation, increase risk, and create uncertainty at design review or consent stage. KOROK® addresses this directly, ensuring continuity of fire cells where walls meet:
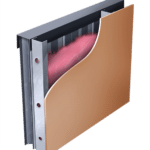
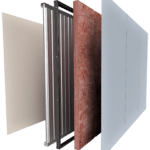
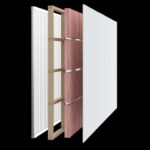
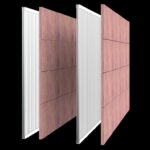
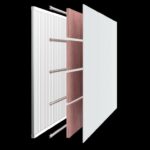
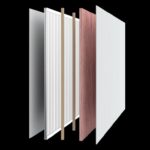
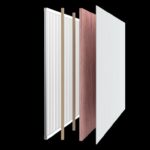
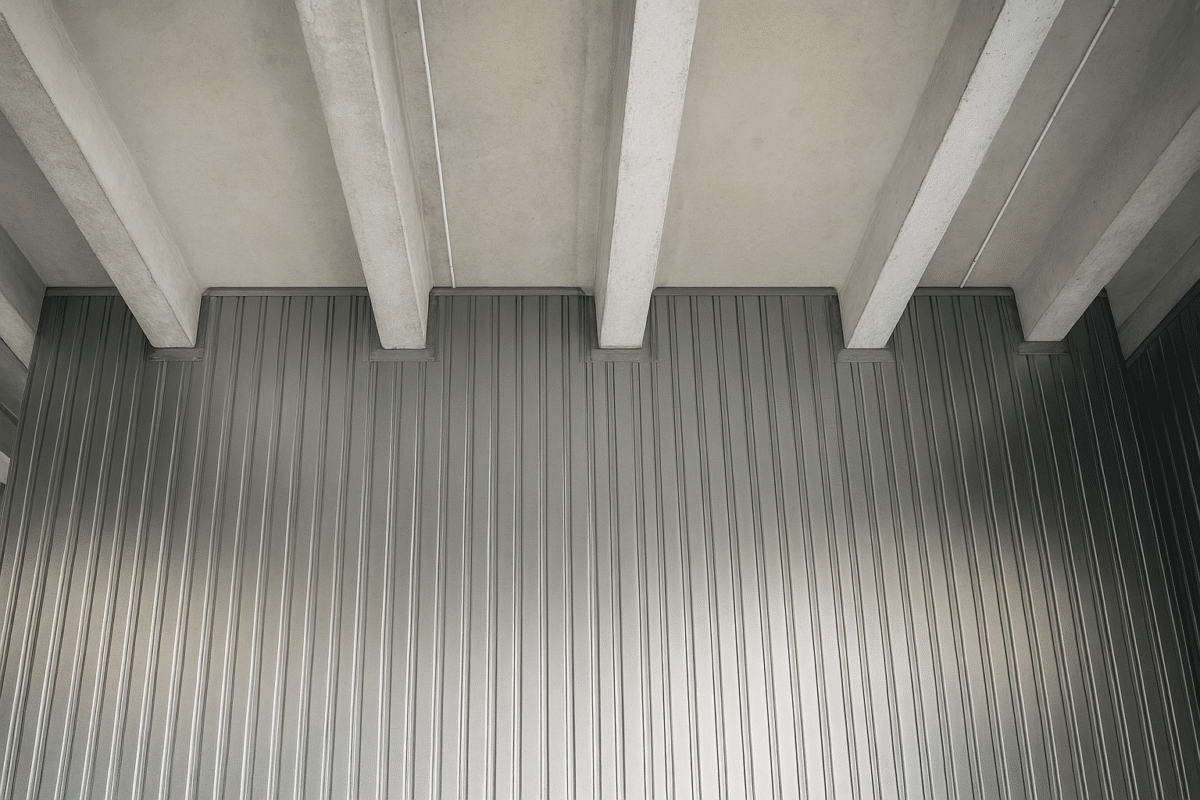
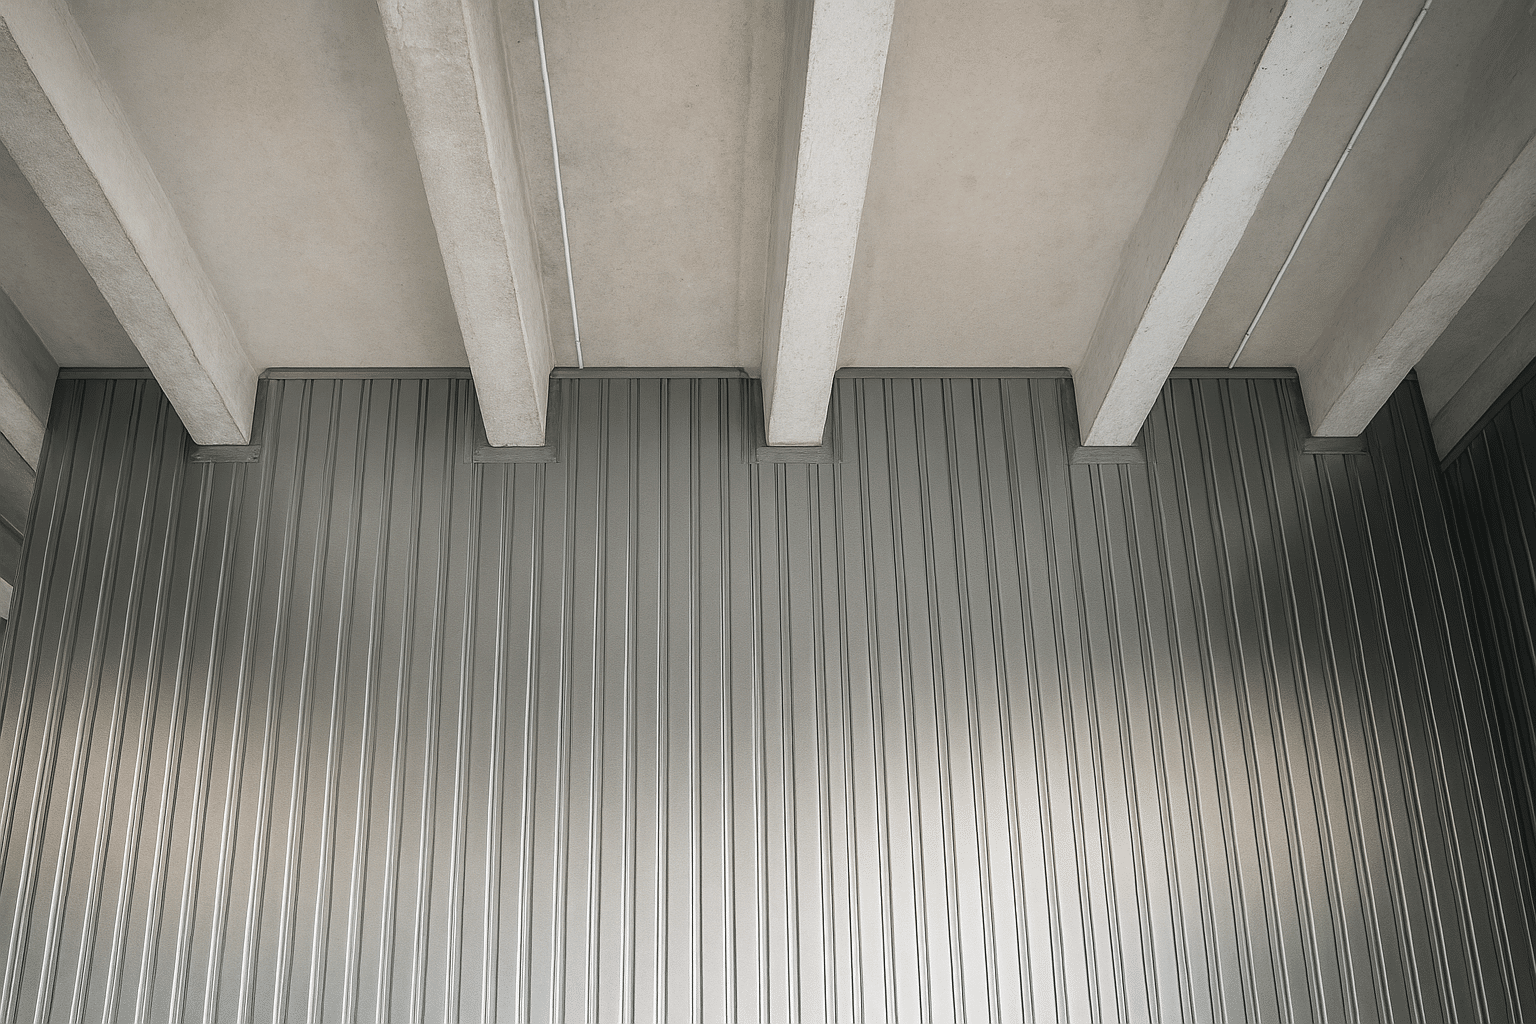
- Profiled metal tray concrete floors
- Timber formwork and Stahlton rib systems
- CLT and other structural floor types
- Precast concrete floor (Double Tee)
These assessed solutions remove ambiguity and support compliant detailing across a wide range of building typologies.
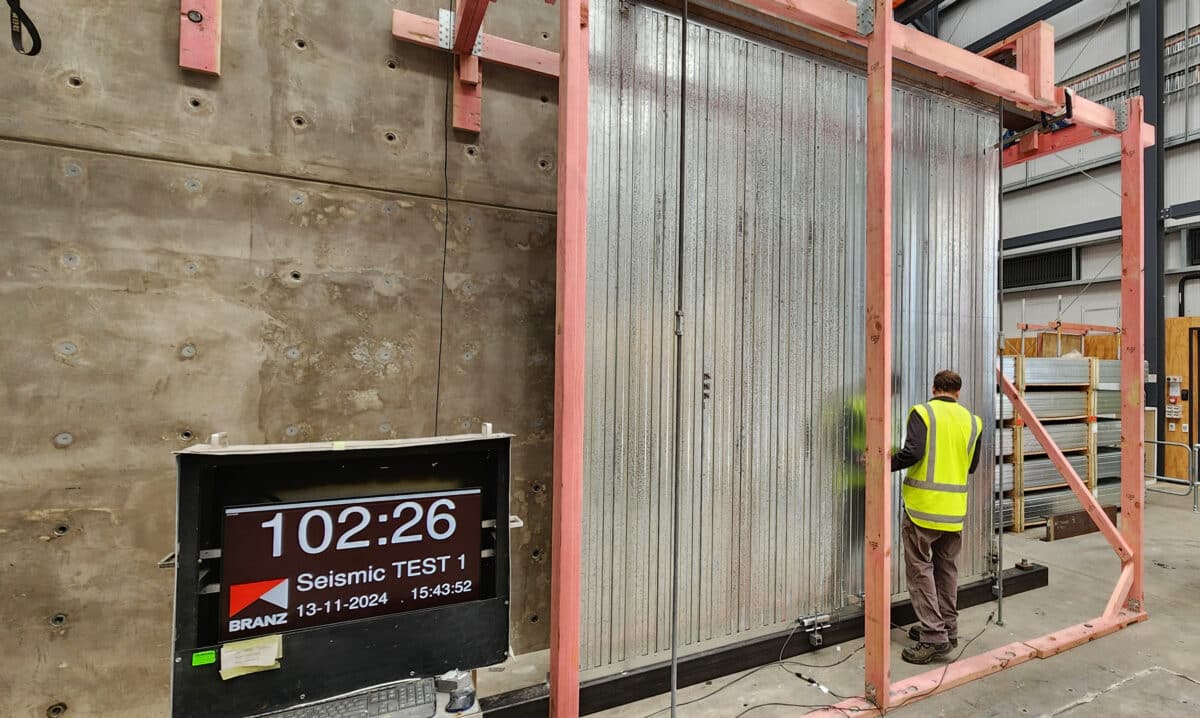
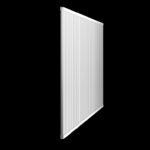
Proven Fire Performance
KOROK® Floor Junction Details are supported by a formal engineering assessment, delivering verified fire performance aligned with regulatory expectations.
- Up to -/120/120 FRR with KOROK® Panel 78mm
- Up to -/60/60 FRR with KOROK® Panel 51mm
- Valid for wall heights up to 6.0 metres
- Based on testing to AS 1530.4 fire resistance standards
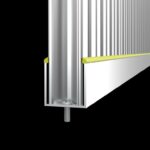
Engineered Flexibility for Real‑World Projects
Designed with practical construction and coordination in mind, KOROK® Floor Junction Details provide flexibility without sacrificing compliance. These engineered solutions accommodate:
- Walls running parallel or perpendicular to floor profiles
- Integration with deflection and non‑deflection head details
- Compatibility with multiple structural systems without redesign
This allows engineers and architects the freedom to resolve complex interfaces while maintaining fire performance continuity.
See all KOROK® Floor Junction CAD details.